Using Formatted Documents and Branded Resumes on-the-go with 1Staff
In our last post, we reviewed the steps required to administer, develop, and distribute Branded Documents with 1Staff CRM

Formatted Sendouts (often referred to as branded resumes or blind resumes) can not only speed up your time to submit and improve fill ratios, but they provide your customer with a more consistent, branded experience. The downside is they can also be time consuming to create and maintain. 1Staff changes that by letting your recruiters create them as needed in Microsoft Word.
1Staff powered by Dynamics 365 allows you to:
- Create unlimited sendout/branded resume documents with custom logos and colors
- Have recruiters design them in Word without IT assistance
- Automatically attach key on-boarding and compliance documents to them (such as a license, certification, or other on-boarding documents)
With this feature set-up, you can enhance the effectiveness of your team no matter where they go by utilizing these features through a mobile platform. The following guide will review the steps needed to implement this feature.

Step 1: Identify Your Profile
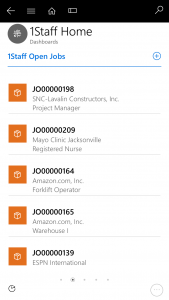
Start the Dynamics 365 app on your mobile device and use the Search Button on the top right hand corner to find a Contact/Candidate record.
Step 2: Select Template
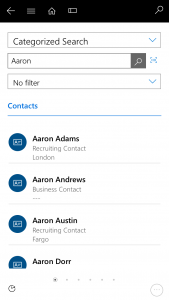
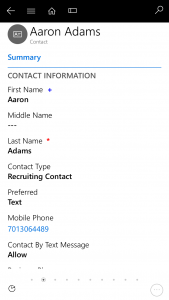
In this case I’m going to search for “Aaron” and get a list back of related contacts and I select Aaron Adams (select any contact you have).
Step 3: Select Entity
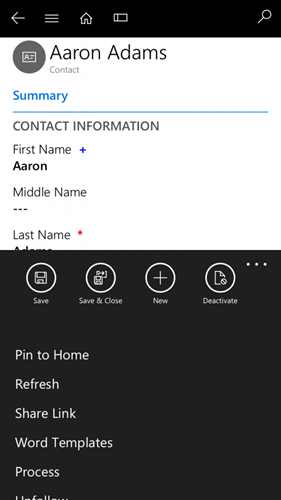
On the Contact/Candidate record you selected use the Ellipsis (three dots “…”) on the lower right hand corner of your phone to open the menu.
Step 4: Additional Data
From the Menu Select “Word Templates” just like you would do in the the full web version of Dynamics 365 and 1Staff.
Step 5: Developer Tab
This is going to open a Word document to your screen (if you have Word on your Phone which you would have available to you as part of your Office 365/1Staff Subscription if you are a 1Staff Cloud Customer). Don’t worry that the formatting doesn’t seem to look exactly right. When the email is sent the boxes around the fields will be hidden and the document will look just like the one you created from Dynamics 365 Online/1Staff.
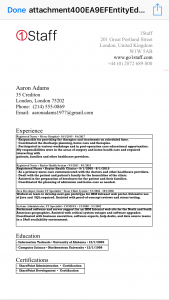
Step 6: Adding Fields
In this case we are using an Iphone to send the message as an Email.
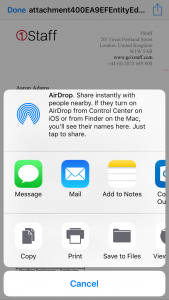
Step 7: Talk to Text
When using the iPhone to send an email you can take advantage of the Talk to Text feature to create an email.
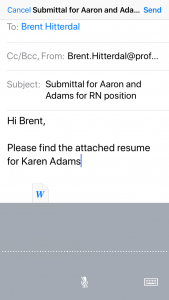
Step 8: Document Delivery
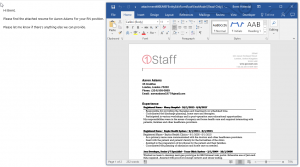
When the attachment is received note that the formatting of the document is still as professional as the one we created in this blog post.
Learn more about 1Staff Staffing Software today!
If you’d like to find out more or talk to a specialist get in touch today.
Professional Advantage Managed Services
Want to find out more information on how Professional Advantage can help you with your security needs?
Please contact us to start your discussion about how our Managed Services team can help